Introduction
A RackMount Network Cabinet is a crucial component in any data center or network infrastructure. It provides a structured and organized way to house network equipment such as servers, switches, routers, and patch panels. Proper installation of the network cabinet is essential to ensure the efficient operation of the network equipment, as well as for ease of maintenance and future expansion. This paper will outline the detailed steps involved in the installation of a RackMount Network Cabinet.
Pre – installation Preparations
Site Selection
The first step in installing a RackMount Network Cabinet is to select an appropriate location. The site should be a well – ventilated area, free from excessive dust, moisture, and direct sunlight. It should also be easily accessible for maintenance purposes. Consider the proximity to power sources and network cabling access points. For example, in a data center, the cabinet is often placed in a raised – floor area with access to under – floor cabling and power distribution units.
Equipment and Tools Gathering
Before starting the installation, gather all the necessary equipment and tools. This includes the network cabinet itself, mounting rails, screws, washers, a drill, a screwdriver, a level, and cable management accessories. Ensure that the network cabinet is of the appropriate size and capacity to accommodate all the planned network equipment. Check the mounting rails to ensure they are compatible with the cabinet and the equipment to be installed.
Unpacking and Inspection
Carefully unpack the network cabinet and all its components. Inspect the cabinet for any signs of damage during transit. Check that all the parts, such as doors, side panels, and mounting rails, are present and in good condition. Any damaged or missing parts should be reported to the supplier immediately.
Installation Process
Mounting the Cabinet
Positioning: Place the network cabinet in the pre – selected location. Use a level to ensure that the cabinet is perfectly horizontal and vertical. This is crucial for the proper installation of equipment inside the cabinet and for maintaining the structural integrity of the cabinet.
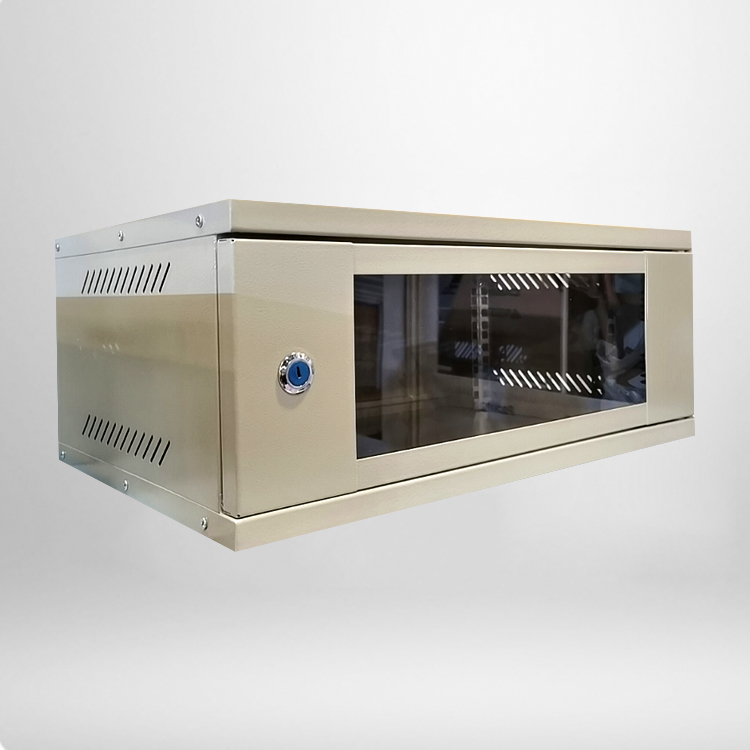
Securing the Cabinet: Once the cabinet is in the correct position, secure it to the floor or wall (depending on the type of installation). If installing on a floor, use bolts or screws to fasten the cabinet’s feet to the floor. For wall – mounted cabinets, follow the manufacturer’s instructions to securely attach the cabinet to the wall using appropriate wall – mounting brackets.
Installing Mounting Rails
Alignment: Insert the mounting rails into the cabinet. Make sure they are aligned correctly and evenly spaced on both sides of the cabinet. The rails should be firmly attached to the cabinet using the provided screws.
Adjustment: Some mounting rails are adjustable to accommodate different – sized equipment. Adjust the position of the rails according to the requirements of the network equipment that will be installed.
Installing Network Equipment
Equipment Placement Planning: Before installing the network equipment, plan the placement of each device inside the cabinet. Consider factors such as heat dissipation, cable management, and ease of access. For example, servers that generate a lot of heat should be placed in areas with good ventilation, and frequently accessed equipment should be placed at eye – level.
Mounting the Equipment: Use the appropriate mounting hardware (such as screws and brackets) to attach the network equipment to the mounting rails. Ensure that each device is securely fastened to prevent it from moving or vibrating during operation.
Cable Management
Routing the Cables: After installing the network equipment, start routing the cables. Use cable ties or cable management trays to keep the cables organized. Route power cables separately from network cables to avoid interference. Label each cable at both ends to identify its source and destination.
Cable Length Management: Ensure that the cables are not too long or too short. Excessively long cables can create a mess and may interfere with ventilation, while too – short cables may put stress on the equipment’s connectors.
Post – installation Checks
Equipment Functionality Check
Power on all the network equipment installed in the cabinet and check if they are functioning properly. Monitor the status lights on the devices to ensure that they are operating without any errors. Check the network connectivity by pinging devices on the network.
Cabinet Integrity Check
Re – check the alignment and stability of the cabinet. Ensure that all the doors and panels are closing properly. Check for any loose screws or parts that may have come undone during the installation process.
Conclusion
The installation of a RackMount Network Cabinet is a multi – step process that requires careful planning, preparation, and execution. By following the steps outlined in this paper, one can ensure a proper and efficient installation of the network cabinet, which is essential for the smooth operation of any network infrastructure. Proper installation not only enhances the performance of the network equipment but also simplifies maintenance and future upgrades.
add more details about specific types of network cabinets or more in – depth cable management techniques, I can further expand on this paper.